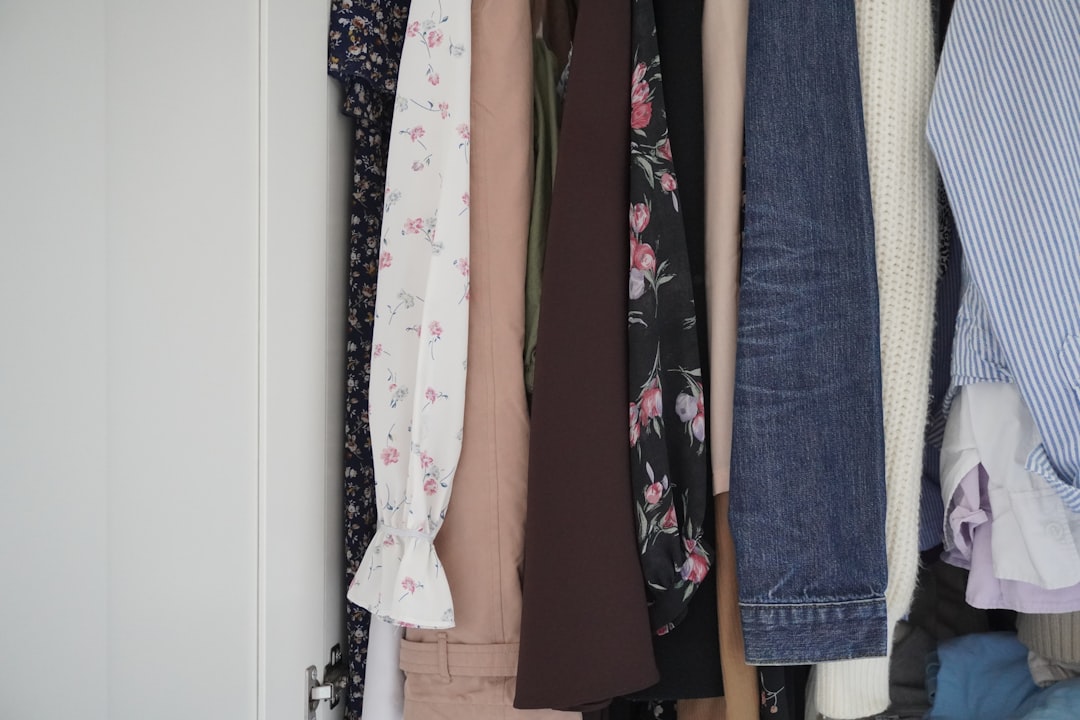
Open your closet door and take an honest look inside. Chances are, you are looking at a single wooden rod, a dusty upper shelf, a chaotic tangle of hangers, and a mountain of shoes piled haphazardly on the floor. In a standard builder-grade closet, between 50% and 60% of the usable cubic volume goes completely to waste.
The issue is rarely a lack of square footage; it is poor vertical engineering. A standard eight-foot ceiling gives you 96 inches of vertical height to work with, yet a single hanging rod uses barely 40 inches of that profile. By designing and installing your own DIY closet organization system, you can reclaim those lost vertical zones, eliminate floor clutter, and effectively double your usable storage capacity without knocking down a single wall.
Key Takeaway: Closets fail because of single-dimension layouts. Doubling your storage requires shifting from linear thinking (how long the rod is) to volumetric thinking (how much vertical and depth space you can utilize).
The Anatomy of Wasted Space: Why Standard Closets Fail
Most residential closets follow a template designed for building speed rather than daily living. To fix your closet, you first need to identify where space is leaking:
- The Dead Ceiling Zone: The top 18 to 24 inches above a single high shelf are often out of reach and underutilized, collecting items you forget you own.
- The Mid-Level Void: Shirts and jackets hang down roughly 36 to 40 inches. Beneath them lies an awkward 20-to-30-inch gap of empty air that is too short for a second row of long garments but too tall to ignore.
- The Floor Pit: When shoes, hampers, and storage bins sit on the floor without dedicated shelving, they create visual friction and make vacuuming or finding matching pairs impossible.
- Unused Side Walls (Returns): In reach-in closets, the 6 to 12 inches of wall space hidden behind the door frame (the returns) are almost always left bare.
A smart upgrade addresses all four zones simultaneously, replacing empty air with structured storage tailored to what you actually wear.
Phase 1: Planning Your DIY Closet Organization System
Before buying lumber, melamine boards, or track-rail hardware, you need an exact audit of your wardrobe and your closet's physical dimensions. Skipping this planning phase is the primary reason DIY systems end up with awkward gaps or poorly fitting compartments.
1. Take Three-Point Measurements
Drywall is rarely plumb, and floors are rarely level. Measure your closet's width at three points: along the floor, at eye level (48 inches), and near the ceiling (84 inches). Record the smallest measurement as your working width. Measure depth on both the left and right walls, and measure total ceiling height from floor to drywall.
2. Complete a Wardrobe Inventory
Sort your clothing to calculate exactly how much hanging space versus shelf space you need before planning your decluttering your wardrobe using minimal methods. Categorize items into three main structural requirements:
- Short-Hang (38–42 inches high): T-shirts, button-downs, folded trousers, skirts, and blazers. (Target: 60–70% of total hanging space).
- Long-Hang (60–66 inches high): Dresses, long coats, jumpsuits, and full-length hanging pants. (Target: 15–20% of total hanging space).
- Folded & Bin Storage: Sweaters, denim, athletic wear, accessories, and shoes.
3. Choose Your System Architecture
When executing a DIY closet organization system, you generally have three build methods:
- Wall-Hung Track Systems: A steel horizontal track mounts to the wall studs near the ceiling, and vertical standards hang down. Brackets and shelves snap into the uprights. This is the most flexible, beginner-friendly method.
- Floor-Standing Modular Towers: Built from 3/4-inch plywood or laminated particle board, these vertical cubbies rest on the floor (anchored to the wall) and serve as anchors for hanging rods on either side.
- Fixed Cleat-and-Shelf Carpentry: Traditional carpentry using 1x2-inch wood cleats screwed into studs, supporting solid wood shelves and heavy-duty closet pole sockets. According to the structural carpentry guides on building sturdy adjustable closet shelving, securing continuous cleats across at least three wall studs provides the highest load-bearing capacity for heavy winter garments.
Phase 2: The Step-by-Step Build & Installation
Here is how to build a high-capacity, semi-custom modular layout combining a central vertical tower with flanking double-hang rods.
Step 1: Prep and Repair
Remove the old wire racks or wooden pole. Fill all drywall anchor holes with spackling compound, sand smooth, and apply a fresh coat of semi-gloss or satin paint. Lighter paint colors reflect light better, making small reach-in closets feel significantly larger.
Step 2: Locate and Mark Wall Studs
Use a magnetic or electronic stud finder to locate every wall stud across the back and side walls. Mark stud centers with painter's tape from floor to ceiling. A single fully loaded 48-inch closet rod can easily weigh over 70 pounds; securing structural brackets directly into solid framing lumber is non-negotiable.
Step 3: Construct the Central Tower
A central organizer unit (18 to 24 inches wide, 14 inches deep) divides the closet into distinct functional zones. You can assemble this using pre-drilled 3/4-inch melamine panels or cut-to-size birch plywood with iron-on edge banding. Incorporate adjustable shelf pin holes every 1.25 inches to adapt to changing seasonal gear, much like you would when applying smart bedroom storage hacks throughout the home.
Step 4: Execute the Double-Hang Math
Double hanging is the single most effective way to multiply storage capacity in your DIY closet organization system. Install the upper rod at 82 to 84 inches from the finished floor. Place the lower rod at 40 to 42 inches. This gives you two full tiers of hanging space for shirts and pants, instantly doubling your garment capacity along that wall section.
Key Takeaway: For double-hung sections, maintain a minimum of 40 inches of clearance between the top rod and lower rod to prevent shirt tails from dragging across the lower bar.
Step 5: Utilize the Upper Perimeter
Run a continuous top shelf spanning the entire width of the closet at the 84-inch mark (above the top rod). This shelf acts as a bridge, securing the central tower while creating an expansive upper mezzanine for seasonal bedding, luggage, and storage totes.
Phase 3: Space Multipliers & Finishing Touches
With the primary framework secured, fine-tune the interior with high-efficiency organizational accessories designed to eliminate residual friction points.
Uniform Ultra-Slim Hangers
Bulky plastic tubular hangers and mismatched wooden suit hangers waste immense amounts of horizontal rod space. Switching to slim non-slip velvet hangers reclaims up to 30% of your horizontal hanging capacity immediately while keeping garment shoulders aligned at an even height.
Shoe Shelving Angles and Risers
Standard flat shelves waste space when storing footwear. Install shoe shelves spaced 7 inches apart vertically. For reach-in closets with shallow depths, use angled shelves equipped with a small front lip (a 1x2 strip) to display shoes efficiently while saving several inches of floor projection.
The Return Wall Hooks
Don't leave the side walls inside the door frame blank. Mount a row of low-profile utility hooks or a vertical valet rail to hold belts, ties, scarves, daily bags, or tomorrow's prepared outfit. If you are balancing a full home makeover, these small spatial adjustments mirror the best practices for organizing a small space on a budget.
DIY Closet System Layout Blueprint
| Zone | Recommended Height | Best For |
|---|---|---|
| Top Shelf (Mezzanine) | 84" to Ceiling | Luggage, seasonal blankets, bins |
| Upper Hang Rod | 80" – 82" | Short hanging: shirts, folded trousers |
| Lower Hang Rod | 40" – 42" | Skirts, casual tees, jackets |
| Long Hang Section | 64" – 68" | Dresses, full-length overcoats |
| Central Shelves | 10" – 14" Spacing | Knitwear, denim, storage bins |
Common Pitfalls to Avoid
Building your own system is straightforward, but avoiding these three common mistakes will ensure your installation remains solid and functional for years:
- Overloading Drywall Anchors: Never rely on hollow-wall plastic anchors for primary horizontal support rails. Always locate framing studs or secure a continuous wood ledger strip directly to the wall framing.
- Making Shelves Too Deep: In a standard 24-inch-deep closet, avoid shelves deeper than 14 to 15 inches. Deep shelves cause clothes to get pushed to the back where they are forgotten and inaccessible.
- Forgetting Door Clearance: Ensure sliding bypass doors or swinging bifold doors do not block drawers or pull-out baskets from fully extending. Measure the doorway opening clearance carefully before setting your tower width.
Your Action Step for Today
You don't have to demolish your closet this afternoon to start making meaningful progress. Grab a tape measure and a notepad right now, head to your primary closet, and measure your total vertical ceiling height alongside your current hanging rod height.
Calculate how many inches of dead space sit above your top shelf and below your shortest hanging garments. Once you see that 30+ inches of empty air on paper, sketch your central tower and double-rod layout. You'll be ready to pick up your materials and install a custom DIY closet organization system that transforms your morning routine for good.

Written by
Nibedita Basu
English graduate and social worker with a passion for creating a warm, happy, and meaningful life. I write about Home, Food, and Pets — sharing practical ideas, everyday inspiration, and simple joys that make life more comfortable, wholesome, and fulfilling.