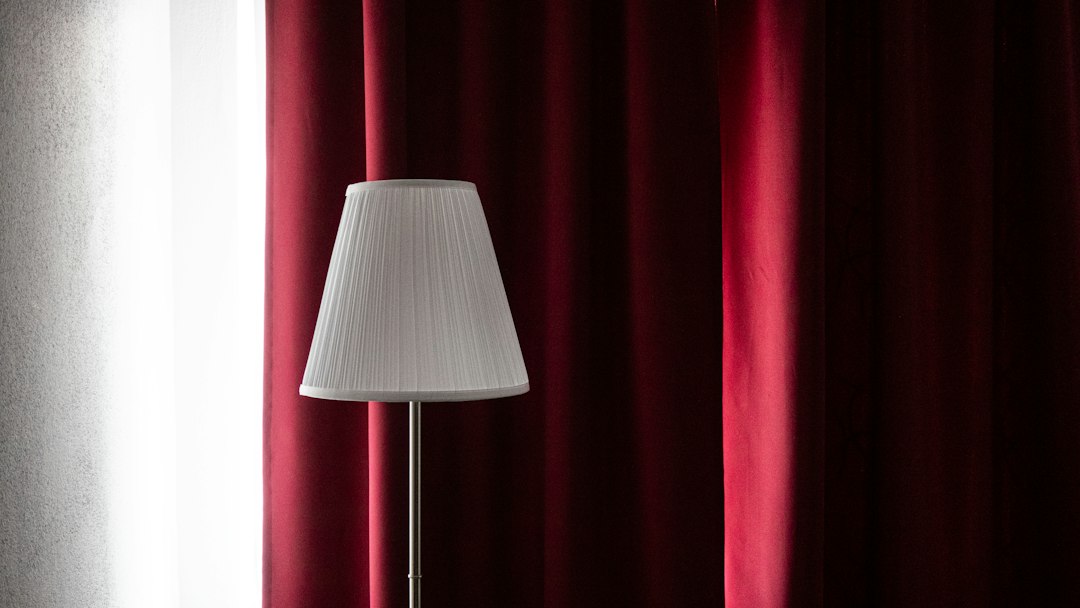
Standard store-bought curtains present a frustrating dilemma: you either pay $150+ per panel for custom drapery that actually fits your ceiling height, or you settle for flimsy polyester panels that pool awkwardly on the floor or stop three inches too short. Fortunately, you do not need a sewing machine—or any tailoring experience—to get tailored, floor-to-ceiling drapery.
By using heavy-duty cotton canvas, heat-activated hem tape, and strategically placed drapery rings, you can assemble a durable, tailored no-sew curtain system for less than $50 per window. Not only does this method give you full control over length, fullness, and light filtration, but it also creates the relaxed, textured aesthetic of high-end Belgian linen at a fraction of the cost.
Key Takeaway: Custom-length curtains instantly elevate a room by making ceilings appear higher and windows larger. A DIY no-sew setup gives you exact floor-to-ceiling dimensions without custom fabrication costs.
Why a No-Sew Curtain System Beats Standard Store-Bought Drapery
Most commercial curtains come in fixed lengths: 63, 84, 96, or 108 inches. In homes with standard eight-foot or nine-foot ceilings, mounting your curtain rod near the ceiling molding (the designer standard) leaves 84-inch curtains floating off the floor and 96-inch curtains dragging. Custom hemming services typically charge $25 to $45 per panel just for basic alterations.
Beyond aesthetics, proper window coverings provide substantial insulation. According to the U.S. Department of Energy, carefully fitted draperies can reduce heat loss from a room by up to 10% and reduce solar heat gain by up to 33% during warmer months. Dense natural textiles like canvas or cotton duck cloth naturally outperform thin, synthetic budget curtains in thermal resistance and sound dampening.
The Budget Materials Blueprint (Under $50 Total)
The secret to an elevated no-sew curtain system lies in using unexpected raw materials with the right weight and texture. Here is the exact shopping list to cover a standard single or double window up to 60 inches wide:
- 100% Cotton Drop Cloth (6 ft x 9 ft or 9 ft x 12 ft): $15–$22. Ensure it is 100% unbleached cotton canvas (approx. 8 to 10 oz weight) without a plastic or butyl backing.
- Heavy-Duty Fusible Bonding Web (Iron-On Hem Tape): $5–$7. Look for brands like HeatnBond UltraHold or Stitch Witchery Heavy Duty.
- Curtain Clip Rings (1.5-inch diameter, pack of 14–20): $8–$12. Matte black, brushed brass, or satin nickel match modern hardware profiles.
- Adjustable Tension Rod or Minimalist Curtain Conduit: $10–$14. For rental setups, heavy-duty spring tension rods eliminate drilling. For permanent installs, standard 5/8-inch or 3/4-inch matte rods work best.
If you already own a basic household iron and a pair of sharp fabric scissors, your total out-of-pocket material cost will comfortably stay below the $50 threshold.
Step-by-Step: Assembling Your Custom No-Sew Window Treatment
Step 1: Wash, Soften, and Pre-Shrink the Fabric
Natural cotton canvas shrinks significantly on its first wash. To prevent your finished curtains from shortening after installation, wash the drop cloth in warm water with standard detergent. Add 1 cup of white vinegar to the rinse cycle to break down the manufacturer's starches and soften the stiff canvas into a drapeable, linen-like hand.
Tumble dry on medium heat until slightly damp, then immediately remove to prevent deep wrinkles. If you're pairing this with a broader refresh, check out our guide on eco-friendly deep cleaning routines to prep the room before hanging new textiles.
Step 2: Measure and Cut with the "Hang High, Kiss Floor" Rule
Hang your curtain rod first. For the most spacious look, position the rod 4 to 6 inches above the window frame (or 2 inches below the ceiling trim) and extend the rod 6 to 10 inches past the window frame on each side.
- Measure from the bottom of the curtain rings on the rod down to the floor.
- Add 4 inches to this measurement: 2 inches for the bottom hem turn-under and 2 inches for the top header fold.
- Cut your canvas panel across the width using sharp shears. Pull a loose thread along the cut line to create a straight guide path through the weave.
Step 3: Bond the Hems Using Heat-Activated Tape
A crisp, straight edge distinguishes high-end curtains from sloppy DIY projects. Lay your canvas flat on an ironing board or a heat-safe table protected by a folded towel.
- Fold and Press: Fold your raw edge over by 1 inch and press firmly with a hot steam iron to create a sharp crease. Fold it over a second time by 1 inch to fully conceal the raw edge, then press again.
- Insert the Bonding Web: Slide the strip of fusible hem tape inside the double-folded hem, sandwiching it between the layers of canvas.
- Apply Heat: Set your iron to the "Cotton" or high-heat setting with steam. Press firmly onto the hem in 10-to-15-second sections. Do not slide the iron back and forth; press down, lift, and move to the next section to avoid shifting the tape.
- Cool and Set: Allow the bond to cool completely (about 5 minutes) before manipulating the fabric so the polymer adhesive cures fully.
Step 4: Create Tailored Faux-Pleats with Clip Rings
Clip placement determines how the fabric drapes when open or drawn. Flat clipping creates a casual look, while reverse-pinch clipping creates structured, tailored folds:
- Place the first clip 1/2 inch from the outer edge.
- Place the second clip 1/2 inch from the inner leading edge.
- Space the remaining clips evenly every 6 to 8 inches across the top hem.
- The Pro Pinch Trick: To create a faux French pleat, pinch a 1-inch fold of fabric backward behind each clip before clamping the teeth down. When hung, this forces the fabric into consistent, S-curve columnar folds down the entire length of the panel.
Key Takeaway: Spacing your clip rings at consistent 6-to-8-inch intervals and pinching the fabric behind each clip creates structured pleats that mimic tailored drapery costing hundreds of dollars.
Styling Tweaks to Elevate Canvas to Designer Linen
Unbleached cotton canvas naturally carries an oatmeal or warm beige undertone with minor flecks. You can customize the look to match any interior aesthetic:
1. The Sun-Bleached Belgian Linen Finish
If you prefer a crisp off-white or bright ivory tone, soak your washed canvas in a clean top-load washer or large storage tub filled with hot water and 2 cups of standard liquid chlorine bleach. Stir thoroughly every 15 minutes for 1 hour, drain, and run through a regular cold rinse cycle. The canvas will emerge with a soft, uniform ivory texture virtually indistinguishable from mid-weight linen.
2. Weighted Corners for Crisp Falling Lines
Curtains drape best when there is subtle tension on the bottom hem. Insert a standard 1-inch metal washer into the left and right corners of the bottom hem before sealing the edges with bonding tape. The tiny amount of weight prevents the bottom corners from flaring outward.
For more home styling and organizational updates that don't require power tools, explore our system for streamlining small living spaces on a modest budget.
Troubleshooting Your No-Sew Curtain System
The Hem Tape Isn't Sticking to the Canvas
Canvas is thicker than standard apparel fabric, requiring higher heat and moisture to melt the adhesive completely through both layers. Increase your iron's heat setting, use full steam, and apply firm downward pressure for a full 15 to 20 seconds. If necessary, lightly mist the hem with a spray bottle of water before pressing.
The Fabric Edges Are Wavy
Waviness happens when the fabric is stretched while being ironed. Always press down in a stamping motion rather than dragging the iron along the hemline. If waves appear, steam the area without touching the iron directly to the fabric, and gently smooth it flat with your hand as it cools.
Your Action Step for Today
You do not need an entire weekend to begin this upgrade. Take 10 minutes right now to measure your target window: measure the width from outer molding to outer molding, and the height from 4 inches above the frame to the floor. Add a cotton drop cloth and a pack of 1.5-inch clip rings to your shopping cart, and you will have everything needed to assemble your custom no-sew curtain system in under an hour once they arrive.

Written by
Nibedita Basu
English graduate and social worker with a passion for creating a warm, happy, and meaningful life. I write about Home, Food, and Pets — sharing practical ideas, everyday inspiration, and simple joys that make life more comfortable, wholesome, and fulfilling.