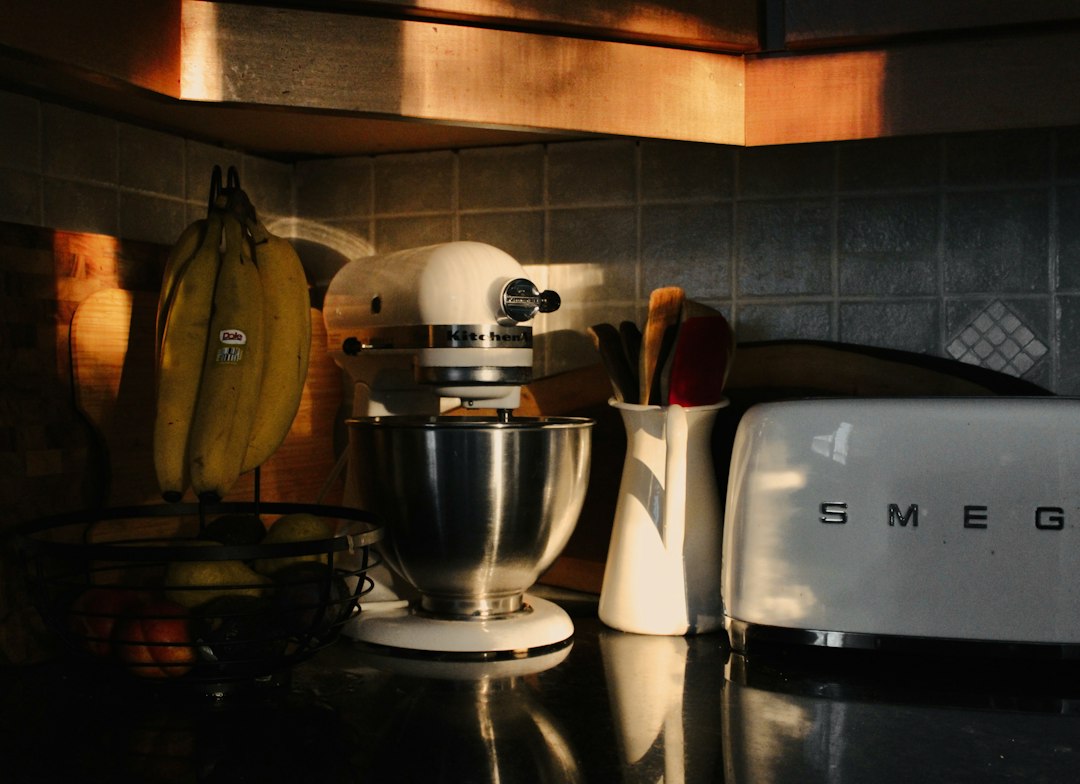
In an open-concept home, the kitchen isn't just where meals get made—it is the acoustic epicenter of your daily life. When your refrigerator hums like an idling diesel engine, the dishwasher thrashes through its cycle, or the range hood roars like a jet turbine, your living space suffers. Research shows that chronic low-frequency household noise elevates baseline stress levels and degrades cognitive focus, even when you think you have tuned it out.
The standard advice from appliance salespeople is predictable: spend $1,500 to $3,000 on ultra-quiet luxury models rated under 40 decibels. But before you drain your savings account or replace functioning machinery, here is the good news: most kitchen noise is not caused by motor failure. It is caused by mechanical vibration, acoustic coupling with cabinetry, worn dampening components, or minor maintenance neglect.
With a few targeted modifications, simple tools, and inexpensive materials, you can dramatically quiet noisy kitchen appliances and restore calm to your living space. Here is your room-by-room, appliance-by-appliance guide to silencing the chaos.
Key Takeaway: Most appliance noise is mechanical vibration amplified by surrounding cabinets and hard flooring. Decoupling the machine from structural surfaces often cuts perceptible sound by 50% or more without replacing internal parts.
Step 1: Understand How Kitchen Acoustics Work
Before grabbing a screwdriver, it helps to understand why appliances sound so loud in modern kitchens. Kitchens are built with hard, reflective surfaces: tile or hardwood flooring, stone countertops, solid-wood or laminate cabinets, and tile backsplashes. These materials have an acoustic absorption coefficient close to zero, meaning sound waves bounce repeatedly rather than dissipating.
Appliance noise generally falls into three distinct categories:
- Vibrational / Structural Noise: The appliance shakes slightly as motors, pumps, or compressors run, transferring kinetic energy into your flooring and hollow cabinet boxes, which act like acoustic amplifiers.
- Airborne Mechanical Noise: Fan blades pushing air through restricted vents, uninsulated motor housings, or internal water jets splashing against hollow stainless steel tub walls.
- Frictional & Component Rattle: Loose mounting brackets, vibrating drip pans, worn rubber isolators, or unlevel leveling legs chattering against tile.
Addressing structural vibration and friction delivers the biggest noise reduction per dollar spent. Learning how to soundproof your living space naturally starts with targeting these physical contact points.
Silencing the Refrigerator: From Constant Hum to Pure Calm
Because your refrigerator runs around the clock, even a modest hum becomes grating over time. Refrigerators generate noise through three main sources: the compressor, the condenser fan, and the evaporator fan inside the freezer compartment.
1. Level the Unit to Stop Cabinet Resonance
If all four leveling legs are not firmly planted on the floor with equal pressure, the entire chassis will rock micro-fractionally with each compressor cycle. Place a bubble level on top of the fridge (front-to-back and side-to-side). Use an adjustable wrench or pair of pliers to turn the front leveling legs clockwise or counterclockwise until the unit is level and stable. Most manufacturers recommend a slight backward tilt—about a 1/4-inch rise at the front—so the doors swing shut automatically.
2. Clean the Condenser Coils and Fan Blade
When condenser coils become clogged with dust, pet hair, and lint, the compressor must work twice as hard to disperse heat, resulting in longer, louder operational cycles. Unplug the refrigerator, pull it away from the wall, and remove the rear bottom access panel. Use a specialized coil brush and a vacuum with a narrow crevice attachment to clean the coils thoroughly.
Inspect the plastic condenser fan blade located next to the compressor. Dust buildup can throw the blade off balance, creating a rhythmic wobble. Wipe each blade clean with a microfiber cloth and check that the fan spins freely without clipping any surrounding copper tubing.
3. Install Anti-Vibration Pads Under the Feet
Even a perfectly level fridge sends low-frequency rumble directly into the floor joists. Slide thick, heavy-duty rubber anti-vibration isolation pads under all four leveling feet or casters. These dense elastomeric pads absorb the compressor’s kinetic energy before it transfers into the subfloor. For detailed troubleshooting on fan-specific motor rattles, check out this guide to diagnosing and silencing refrigerator fan noise.
4. Secure the Defrost Drain Pan
Beneath the refrigerator sits a plastic defrost drain pan. Over time, the tension clips holding this pan in place can loosen, allowing the plastic pan to vibrate violently against the steel frame whenever the compressor runs. Slide the pan out, inspect the clips, apply a small strip of high-heat silicone tape or foam tape along the contact edge, and snap it securely back into place.
Taming a Loud Dishwasher: Retrofitting Insulation and Decoupling
Modern budget dishwashers often use lightweight plastic or single-layer stainless tubs with minimal factory sound dampening. You can cut running noise in half by adding aftermarket mass and sound absorption around the exterior cavity.
1. Add an Acoustic Blanket Wrap
High-end dishwashers achieve silent 39-decibel ratings largely because they are wrapped in thick layers of sound-absorbing material. You can replicate this setup for under $30:
- Turn off the breaker and water supply, disconnect the drain line, and slide the dishwasher out from beneath the counter.
- Measure the top and sides of the tub exterior.
- Wrap the exterior with a universal fiberglass dishwasher insulation blanket or automotive sound-deadening butyl sheets (such as Noico or Dynamat).
- Secure the insulation snugly with foil HVAC tape, ensuring you do not cover the motor housing, electrical junction box, or ventilation ports underneath.
2. Insulate the Access Kickplate (Toe-Kick)
A massive amount of mechanical pump noise escapes directly through the thin metal or plastic kickplate at the base of the machine. Remove the two mounting screws, take off the kickplate, and adhere a strip of high-density closed-cell foam or mass-loaded vinyl (MLV) to the inside surface of the plate. Reinstall it tightly against the cabinetry frame.
3. Decouple Countertop Mounting Brackets
Dishwashers are anchored to the underside of the countertop with metal brackets to prevent tipping. When the wash arms spin and the drain pump engages, these metal brackets vibrate directly against the solid stone or wood counter. Unscrew the brackets, insert thin neoprene or rubber washers between the bracket and the cabinet/countertop frame, and re-tighten the screws. This breaks the direct mechanical bridge between the machine and your cabinets.
For more home tuning projects, explore our guide on essential home maintenance routines that save money.
Key Takeaway: High-frequency water sloshing is blocked by adding dense mass (like butyl mats or fiberglass blankets), while low-frequency motor drones are eliminated by rubber isolation washers and anti-vibration feet.
Quiet the Garbage Disposal: Isolating the Grind
A garbage disposal handles intense mechanical torque, and an improperly balanced or poorly mounted unit can make your entire sink and countertop rattle like an earthquake.
1. Replace the Sink Baffle / Splash Guard
The flexible rubber baffle sitting in your sink drain does more than stop food from flying out—it acts as an acoustic muffler for the grinding chamber below. Over time, hot water and grease degrade the rubber, making the flaps stiff and permanently open. Replacing the old baffle with a modern antimicrobial, acoustic-baffled splash guard instantly traps sound inside the disposal chamber.
2. Check the Mounting Ring and Cushion Mount
Most disposals attach to the sink flange via a three-bolt locking mount. If these bolts work loose over years of torque pulses, the metal-on-metal vibration against the stainless steel sink basin is deafening. Reach beneath the sink, ensure the cushion ring is seated correctly, and tighten all three mounting screws evenly with a screwdriver.
3. Apply Automotive Sound Dampening to the Sink Underside
If you have a stainless steel sink, the disposal turns the metal basin into a speaker cone. Cut pieces of self-adhesive butyl sound-deadening mat and press them firmly onto the underside of the sink basins around the disposal mount. This deadens resonance immediately, giving your sink a solid, premium acoustic feel.
Calming Range Hoods and Microwaves
Range hoods push substantial volumes of air through ductwork, but a huge portion of range hood noise is caused by turbulence, vibrating duct flappers, and loose sheet metal rather than the fan motor itself.
| Noise Symptom | Root Cause | 5-Minute Fix |
|---|---|---|
| Rattling metallic buzz on high speed | Loose grease filter frames vibrating against housing | Apply thin silicone bumper dots to filter seating channels |
| Clicking or flapping sound in duct | Backdraft damper metal flap chattering against duct wall | Line the damper landing lip with a sliver of foam tape |
| Deep harmonic hum through wall | Direct wood-to-metal mounting screws coupling to wall studs | Back out mounting screws and install rubber isolation grommets |
Strategic Acoustic Buffers for the Wider Kitchen
Once you address the machines themselves, you can tackle how sound travels throughout the room. To successfully quiet noisy kitchen appliances across the entire room, add soft textures that absorb acoustic reflections:
- Felt or Cork Cabinet Liners: Line the interiors of your most resonant upper and lower cabinets with 2mm cork or thick felt liners. This stops hollow cabinet boxes from acting as echo chambers.
- Silicone Door Bumpers: Replace dried-out plastic cabinet bumpers with soft, thick silicone dampening pads. This eliminates the sympathetic rattle of cabinet doors when heavy appliances run nearby.
- Washable Floor Runners: Placing a low-profile, washable runner rug with a natural rubber non-slip backing between the island and your main appliance wall absorbs low-angle sound reflections from the dishwasher and refrigerator.
- Under-Cabinet Soft Acoustic Panels: Adhering slim, flame-retardant felt acoustic baffles to the recessed underside of your upper wall cabinets traps sound rising directly off countertop appliances like blenders and coffee grinders.
If you're upgrading other areas of your home, check out our guide to functional small-space organization and decor for ideas that blend aesthetics with noise reduction.
Your Action Step for Today
You don't need a full weekend to begin creating a quieter home. Start with the easiest 10-minute fix on this list right now:
- Walk over to your refrigerator with a bubble level.
- Check if all four legs are making solid, equal contact with the floor.
- Adjust the front leveling feet until the rocking stops, and pull the fridge forward by just one inch to ensure the rear coils and metal housing are not contacting the drywall behind it.
That single adjustment will immediately reduce vibrational resonance, proving that you do not need a brand-new kitchen suite to enjoy the peace of a whisper-quiet home.

Written by
Nibedita Basu
English graduate and social worker with a passion for creating a warm, happy, and meaningful life. I write about Home, Food, and Pets — sharing practical ideas, everyday inspiration, and simple joys that make life more comfortable, wholesome, and fulfilling.