You don’t need a two-car garage or an unfinished basement to build an incredible training space. In fact, standard commercial gym memberships come with a hidden tax: commute time, crowded squat racks, and monthly subscription fees that silently drain your bank account. The truth is that a dedicated area measuring just 7 feet by 7 feet—under 50 square feet in total—is more than enough room to build serious strength, torch calories, and stay consistent.
Creating an efficient small home gym setup isn’t about cramming as much gear as possible into a closet. It is an exercise in intentional design: selecting high-utility, modular equipment, maximizing vertical wall real estate, and maintaining an uncluttered footprint so you actually look forward to working out.
Key Takeaway: A functional home gym requires two distinct zones: a clear 6×6-foot “active movement circle” and an ultra-compact vertical storage wall. If gear touches the floor when not in use, it steals valuable training space.
1. The 50-Square-Foot Blueprint: Layouts That Actually Work
Fifty square feet roughly translates to a 7×7-foot square or a 5×10-foot rectangle. Before purchasing a single piece of iron, grab a roll of painter’s tape and map your space directly onto the floor. You need to plan for clearance in three dimensions: floor footprint, dynamic movement space (lunges, lateral jumps), and overhead clearance for presses.
Layout A: The Wall-Mounted Strip (5' × 10')
This layout works best along an open wall in a spare bedroom, home office, or wide hallway. Mount all storage—racks, hooks, and shelves—along the 10-foot wall. This leaves a 4-foot deep by 10-foot wide runway in front of you for dynamic movements like walking lunges, deadlifts, and bench work.
Layout B: The Corner Power Pod (7' × 7')
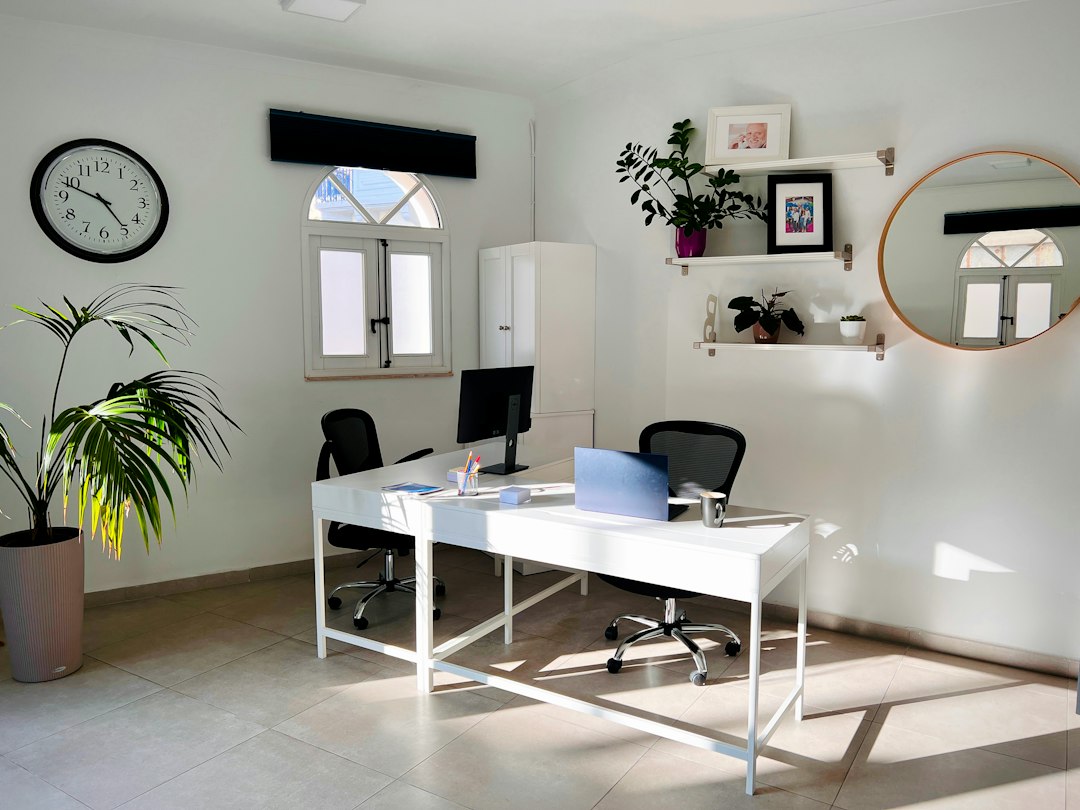
Tucking your small home gym setup into an unused corner creates a natural “training sanctuary” that feels distinct from the rest of the room. Place your storage in the 90-degree corner apex, freeing up the perimeter of the square for your workout mat, bench, and bodyweight movements. This setup works exceptionally well when decluttering your spare room to serve a dual purpose as an office and workout studio.
Floor Prep: The Non-Negotiable Foundation
Never work out directly on hardwood, laminate, or standard carpet. Dropped weights, sweat, and lateral friction will quickly ruin residential flooring. Skip the flimsy foam puzzle mats sold in department stores—they slip under lateral pressure and compress permanently under heavy loads. Instead, invest in 8mm to 3/8-inch high-density vulcanized rubber rolls or heavy-duty commercial rubber stall mats. A single 4×6-foot rubber mat costs under $60 and provides unmatched floor protection, sound dampening, and grip.
2. The Essential Equipment Hierarchy for Tight Spaces
When square footage is scarce, every single piece of gear must earn its footprint through versatility. If an item only serves one exercise (like an isolated leg extension machine), it has no place in a compact gym. Focus on multi-use tools that support regular strength and cardiovascular training without permanently cluttering the room.
Tier 1: Core Strength Essentials (Zero to Minimal Footprint)
- Adjustable Dumbbells: A single pair of quick-change adjustable dumbbells (such as selectorized sets that range from 5 to 50 lbs) replaces up to 16 individual pairs of fixed dumbbells. They occupy just 2 square feet of floor space while unlocking hundreds of compound movements.
- Suspension Trainer (TRX-Style): Anchor this to a wall stud, ceiling joist, or sturdy door frame. It provides a full-body bodyweight workout, scales to any fitness level, and rolls up into a pouch the size of a water bottle when finished.
- Loop Resistance Bands with Handles: A complete set of heavy-duty latex loop bands and tube bands with door anchors duplicates cable crossover machines for chest flyes, lat pulldowns, and face pulls.
Tier 2: Compact Structural Gear
- Fold-Flat Adjustable Bench: A quality workout bench is crucial for presses, step-ups, and supported rows. Look for a bench with an incline/flat/decline mechanism that collapses completely flat to slip under a bed or hang from a wall bracket.
- Adjustable Kettlebell: Similar to adjustable dumbbells, a plate-loaded or selectorized kettlebell provides weight increments from 10 to 40 pounds in a single, compact cast-iron footprint.
Tier 3: Smart Cardio Without the Bulk
Traditional treadmills and stationary bikes consume 15 to 25 square feet of static floor space—nearly half of your entire 50 sq ft footprint. If cardiovascular conditioning is a priority, consider these space-conscious alternatives:
- Heavy Jump Rope: A weighted jump rope offers incredible high-intensity conditioning and costs zero floor space when stored on a hook.
- Under-Desk Folding Walking Pad: If you want steady-state walking, choose a treadmill that folds 180 degrees and stores upright against a wall.
- HIIT Bodyweight Conditioning: Kettlebell swings, dumbbell thrusters, and burpee intervals deliver intense aerobic conditioning using the exact same footprint as your strength work.
Key Takeaway: Prioritize adjustable and folding equipment over fixed gear. A single pair of adjustable dumbbells plus a fold-flat bench delivers 90% of the functionality of a commercial free-weight room inside a 2×3-foot storage zone.
3. Vertical Storage: How to Exploit Your Wall Space
The secret to keeping a small home gym setup looking crisp, organized, and inviting is getting everything off the ground. When your floor is clear, your workout space instantly feels twice as large.
Heavy-Duty Wall Cleats and Track Systems
Install a steel track storage rail or heavy-duty French cleat system directly into your wall studs. These systems allow you to hang:
- Your folded weight bench using heavy utility hooks
- Foam rollers and yoga mats in vertical wire baskets
- Resistance bands, jump ropes, and lifting belts on multi-prong hooks
- Barbells or weight bars mounted horizontally against the wall
If you enjoy DIY projects, review our guide on organizing small storage spaces for step-by-step instructions on securing heavy loads into standard drywall and wall framing safely.
Steel Pegboards for Micro-Gear
Standard wooden pegboards warp and chip under the weight of metal fitness tools. Instead, install a modular metal pegboard panel. Use specialized locking hooks to organize collars, wrist wraps, fractional weight plates, massage guns, and workout timers within arm’s reach.
4. Lighting, Mirrors, and Atmospheric Tweaks
Working out in a dark, cramped corner drains your motivation fast. A few strategic design choices can turn a utilitarian 50-square-foot box into an energizing, studio-grade environment.
Install Full-Length Frameless Mirrors
Mounting two 24×60-inch frameless mirrors along your main wall serves two vital functions: it lets you monitor your lifting form to prevent injury, and it reflects light to visually double the perceived size of your training nook.
Upgrade Your Lighting
Standard overhead incandescent bulbs produce dim, yellow light that creates harsh shadows. Swap them for 4000K to 5000K daylight LED flush-mount fixtures or install an adhesive LED light strip behind your mirror or storage rack to give the space a clean, modern aesthetic.
Airflow and Climate Control
Fifty square feet can heat up rapidly during high-intensity training. Mount an oscillating wall fan or place a high-velocity floor fan in the corner. An open window and a compact HEPA air purifier will keep air circulating and prevent gym odor from migrating into the rest of your home.
5. Sample Weekly Training Split for a 50 Sq Ft Space
To show how practical this layout is, here is how a complete four-day strength and conditioning routine unfolds seamlessly in a micro-footprint:
- Day 1: Upper Body Push/Pull: Incline dumbbell bench presses on the foldable bench, suspension trainer bodyweight rows, dumbbell overhead shoulder presses, and banded lateral raises.
- Day 2: Lower Body Strength: Goblet squats with an adjustable kettlebell, dumbbell Romanian deadlifts, Bulgarian split squats using the bench, and calf raises.
- Day 3: HIIT & Core Conditioning: Kettlebell swings, weighted jump rope intervals, suspension trainer knee tucks, and hollow-body holds on the rubber mat.
- Day 4: Full-Body Functional Power: Dumbbell clean-and-presses, alternating renegade rows, walking lunges across your 10-foot runway, and banded face pulls.
Notice that every movement occurs within a single 6×6-foot clear space, requiring zero bulky machines or dangerous maneuvers.
Take Action Today: The 15-Minute Floor Tape Audit
Building your dream workout space doesn’t require an immediate thousand-dollar shopping spree. Start right now with a single practical step:
- Find an underutilized corner in your home, garage, or office.
- Use painter’s tape to outline a 7×7-foot square or a 5×10-foot rectangle on the floor.
- Stand in the center, perform three bodyweight air squats, a push-up, and extend your arms out wide. If your hands and feet clear the perimeter without hitting furniture, your space is officially verified and ready for your small home gym setup.

Written by
Nibedita Basu
English graduate and social worker with a passion for creating a warm, happy, and meaningful life. I write about Home, Food, and Pets — sharing practical ideas, everyday inspiration, and simple joys that make life more comfortable, wholesome, and fulfilling.