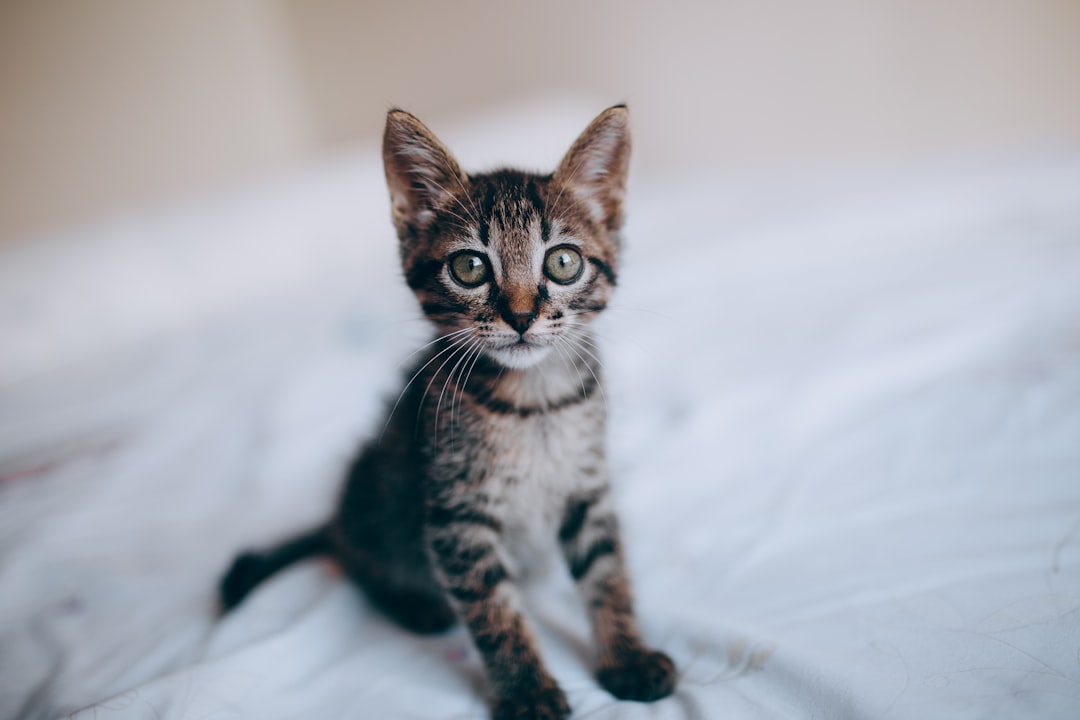
You brought home an adorable ball of fluff, expecting instinct to take over the moment their tiny paws touched litter. Instead, you find yourself scrubbing bathroom rugs, checking behind the sofa, and wondering why your new pet treats your laundry basket like a private bathroom.
While cats are naturally inclined to bury their waste, litter box mastery is not always an automatic switch. When a kitten refuses the box, new owners often assume the animal is stubborn, spiteful, or untrainable. In reality, kittens act out of confusion, physical discomfort, or environmental stress. With the right adjustments, you can guide even the most reluctant kitten toward flawless bathroom habits.
This comprehensive guide breaks down practical, veterinarian-supported kitten litter training tips designed to eliminate accidents and make house training completely stress-free for both of you.
Key Takeaway: Kittens never eliminate outside the box out of spite. Accidents are almost always caused by box design issues, inaccessible locations, substrate preferences, or medical discomfort.
Why Some Kittens Refuse the Box (It’s Not Spite)
Before you can fix the problem, you need to identify what is driving the hesitation. Kittens have sensitive senses and developing bodies, meaning small obstacles can derail their natural instincts.
1. Physical Accessibility Barriers
Standard adult litter boxes often feature entryways that stand four to six inches off the ground. For an eight-week-old kitten, climbing over that rim requires significant effort. If a kitten gets a sudden urge to eliminate and faces an intimidating plastic wall, they will simply choose the nearest flat, soft surface instead.
2. Substrate and Texture Aversion
A kitten’s paw pads are delicate. Coarse, heavy clay pellets or sharp crystal litters can actually cause physical pain when stepped on. Furthermore, heavily fragranced litters designed to mask odors for humans can overwhelm a kitten’s keen sense of smell, driving them away from the box entirely.
3. Fear and Environmental Distractions
If the litter box sits right next to a clattering washing machine, in a drafty hallway, or near a noisy dog crate, your kitten may feel too vulnerable to use it. Cats require a secure vantage point when doing their business. A sudden loud noise while in the box can create a lasting negative association with that specific spot.
According to research highlighted by PetMD’s guide to kitten litter training, early positive associations and low-stress environments are critical factors in preventing lifelong elimination problems.
The 4-Step Method to Litter Train Any Kitten
If your kitten is struggling, hit the reset button. Follow this structured protocol to establish reliable, lifelong box habits.
Step 1: Build the Ideal Kitten Setup
Set your pet up for immediate success by selecting kitten-friendly gear:
- Choose a shallow pan: Use a low-entry box with a rim no higher than two to three inches. If you cannot find a small commercial box, a shallow plastic baking dish or a disposable aluminum tray works brilliantly during early training.
- Pick fine, unscented litter: Opt for a soft, fine-grain, unscented clumping clay or natural corn/wheat substrate. Avoid wood pellets or crystal litters until your kitten is older.
- Consider kitten attractant: Herbal litter additives (often containing natural feline attractants) draw curious kittens to the box through scent.
- Follow the N+1 rule: Provide one litter box per cat, plus one extra. In a multi-story home, place at least one box on every level your kitten visits.
Step 2: Implement the “Basecamp” Confinement Strategy
Giving an untrained kitten free run of an entire house is the number one cause of persistent accidents. When a kitten plays in a distant bedroom, they frequently realize they need the bathroom too late to find their way back to a single box.
Confine your kitten to a safe, quiet “basecamp” room (such as a bathroom, laundry room, or guest bedroom) for the first 3 to 7 days. This space should contain their bed, food and water bowls, scratching posts, and their litter box placed as far from their food as possible. Learn more about organizing your kitten’s environment in our guide to kitten proofing your home checklist.
Step 3: Master the Timing Routine
Kittens operate on predictable physiological schedules. You can anticipate almost every bathroom break by tracking their daily routine:
- Immediately upon waking: As soon as your kitten stirs from a nap, gently lift them and place them directly into the litter box.
- 10–20 minutes after eating: Food triggers the gastrocolic reflex in young animals. Watch for pacing, sniffing corners, or squatting shortly after meals.
- After intense play sessions: Vigorous running stimulates bladder and bowel activity. Pause play sessions periodically to place them near their pan.
When you place your kitten in the pan, gently scratch the clean litter with your own finger to demonstrate the digging motion. Never grab their paws to force them to scratch, as this causes stress and resistance.
Step 4: Reward Success (and Ignore Accidents)
Positive reinforcement builds reliable habits much faster than discipline. Keep tiny, high-value treats in your pocket. The second your kitten finishes eliminating in the pan, offer verbal praise and a treat while they are still inside or immediately stepping out.
Never yell, clap loudly, or rub a kitten’s nose in an accident. Kittens lack the cognitive capacity to connect your anger with an action they performed minutes earlier. Punishing a kitten only teaches them to fear you, which often causes them to hide when eliminating, making accidents harder to find and clean.
Key Takeaway: Timing is everything. Placing your kitten in the litter box immediately after meals, naps, and play sessions eliminates 80% of accidental messes before they happen.
Troubleshooting Stubborn Accidents and Setbacks
Even with consistent routines, some kittens continue targeting specific rugs, corners, or furniture. Here is how to handle persistent setbacks using targeted kitten litter training tips.
Stop Masking Odors: Use Enzymatic Cleaners
Standard household cleaners, bleach, and ammonia-based sprays clean human messes, but they leave behind microscopic urine proteins. Ammonia actually mimics the chemical scent of cat urine, attracting the kitten back to the exact same spot.
Saturate every accident site with a dedicated enzymatic cleaner. Enzymes break down the uric acid crystals completely, removing the biological scent marker that invites repeat offenses. For deeper carpet issues, check out our recommendations for pet-safe stain and odor removal.
The Potted Plant and Bath Mat Attraction
Kittens frequently mistake loose potting soil and plush bathroom rugs for acceptable bathroom substrates because of their soft texture.
- For potted plants: Place large decorative river stones or aluminum foil over the exposed soil surface so the kitten cannot dig.
- For bath mats: Hang bath mats over the shower curtain rod when not in use until your kitten is fully trained.
- For target corners: Place a temporary secondary litter box directly on the spot where the kitten keeps having accidents. Once they use it consistently, slide the box a few inches each day toward your preferred permanent location.
Rule Out Underlying Medical Issues
If your kitten cries while in the litter box, strains without producing urine, licks their genital area excessively, or passes blood-tinged stool, stop training adjustments and visit your veterinarian immediately. Conditions like urinary tract infections (UTIs), intestinal parasites (such as coccidia or giardia), and severe constipation cause intense pain during elimination. Kittens quickly associate the litter box itself with that pain, driving them to eliminate elsewhere.
Essential Do’s and Don’ts of Kitten Litter Training
Keep these core rules in mind as you work through the training process:
- DO scoop the litter box at least once to twice daily. Kittens despise dirty bathrooms and will seek clean carpet instead.
- DO wash the box completely once a month using warm water and mild, unscented dish soap.
- DO provide plenty of environmental enrichment to reduce stress-induced marking. Explore our top ideas for indoor cat enrichment and sensory play.
- DON’T use box liners with young kittens; their claws snag on the plastic, which creates a frightening tactile sensation.
- DON’T switch litter brands abruptly. If you must change litters, mix the new brand into the old brand gradually over a 10-day period.
- DON’T place food and water dishes right beside the litter pan. Cats possess a strong instinct not to eliminate near their water and food sources.
What to Do Today: Your 15-Minute Action Plan
Litter training a stubborn kitten does not require weeks of frustration. You can reset your kitten’s habits starting right now with these three immediate steps:
- Inspect your box: Lower the entry barrier immediately if it is higher than three inches. Cut down a clean cardboard box or use an aluminum baking pan as a temporary fix today.
- Reset basecamp: Move your kitten’s essentials into a single comfortable room without plush rugs or carpeted access until they successfully use the box three days in a row.
- Set a post-meal timer: Set a timer on your phone for 15 minutes after your kitten’s next meal. When it rings, carry your kitten straight to their box and wait quietly beside them.
By applying these foundational kitten litter training tips with patience and consistency, you will quickly transform bathroom struggles into reliable, stress-free habits for life.

Written by
Nibedita Basu
English graduate and social worker with a passion for creating a warm, happy, and meaningful life. I write about Home, Food, and Pets — sharing practical ideas, everyday inspiration, and simple joys that make life more comfortable, wholesome, and fulfilling.